The “Kathmandu Reality Check”
Kathmandu is sensory overload — a beautiful, high-energy mix of ancient temples, ringing bells, and trekking shops. But staying in the wrong spot can ruin your first impression of Nepal (think 1:00 AM bar noise or 45-minute traffic jams just to go two miles).
This guide breaks down the four best areas to stay based on your travel style, whether you need to buy cheap trekking gear, want a quiet cultural retreat, or need absolute luxury after 2 weeks of sleeping in freezing mountain teahouses.
If you’re interested in reading more about trekking Everest Base Camp independently, check out my blog post here!
Kathmandu Accommodation Cheat Sheet
Neighborhood Deep-Dives & Hotel Tiers
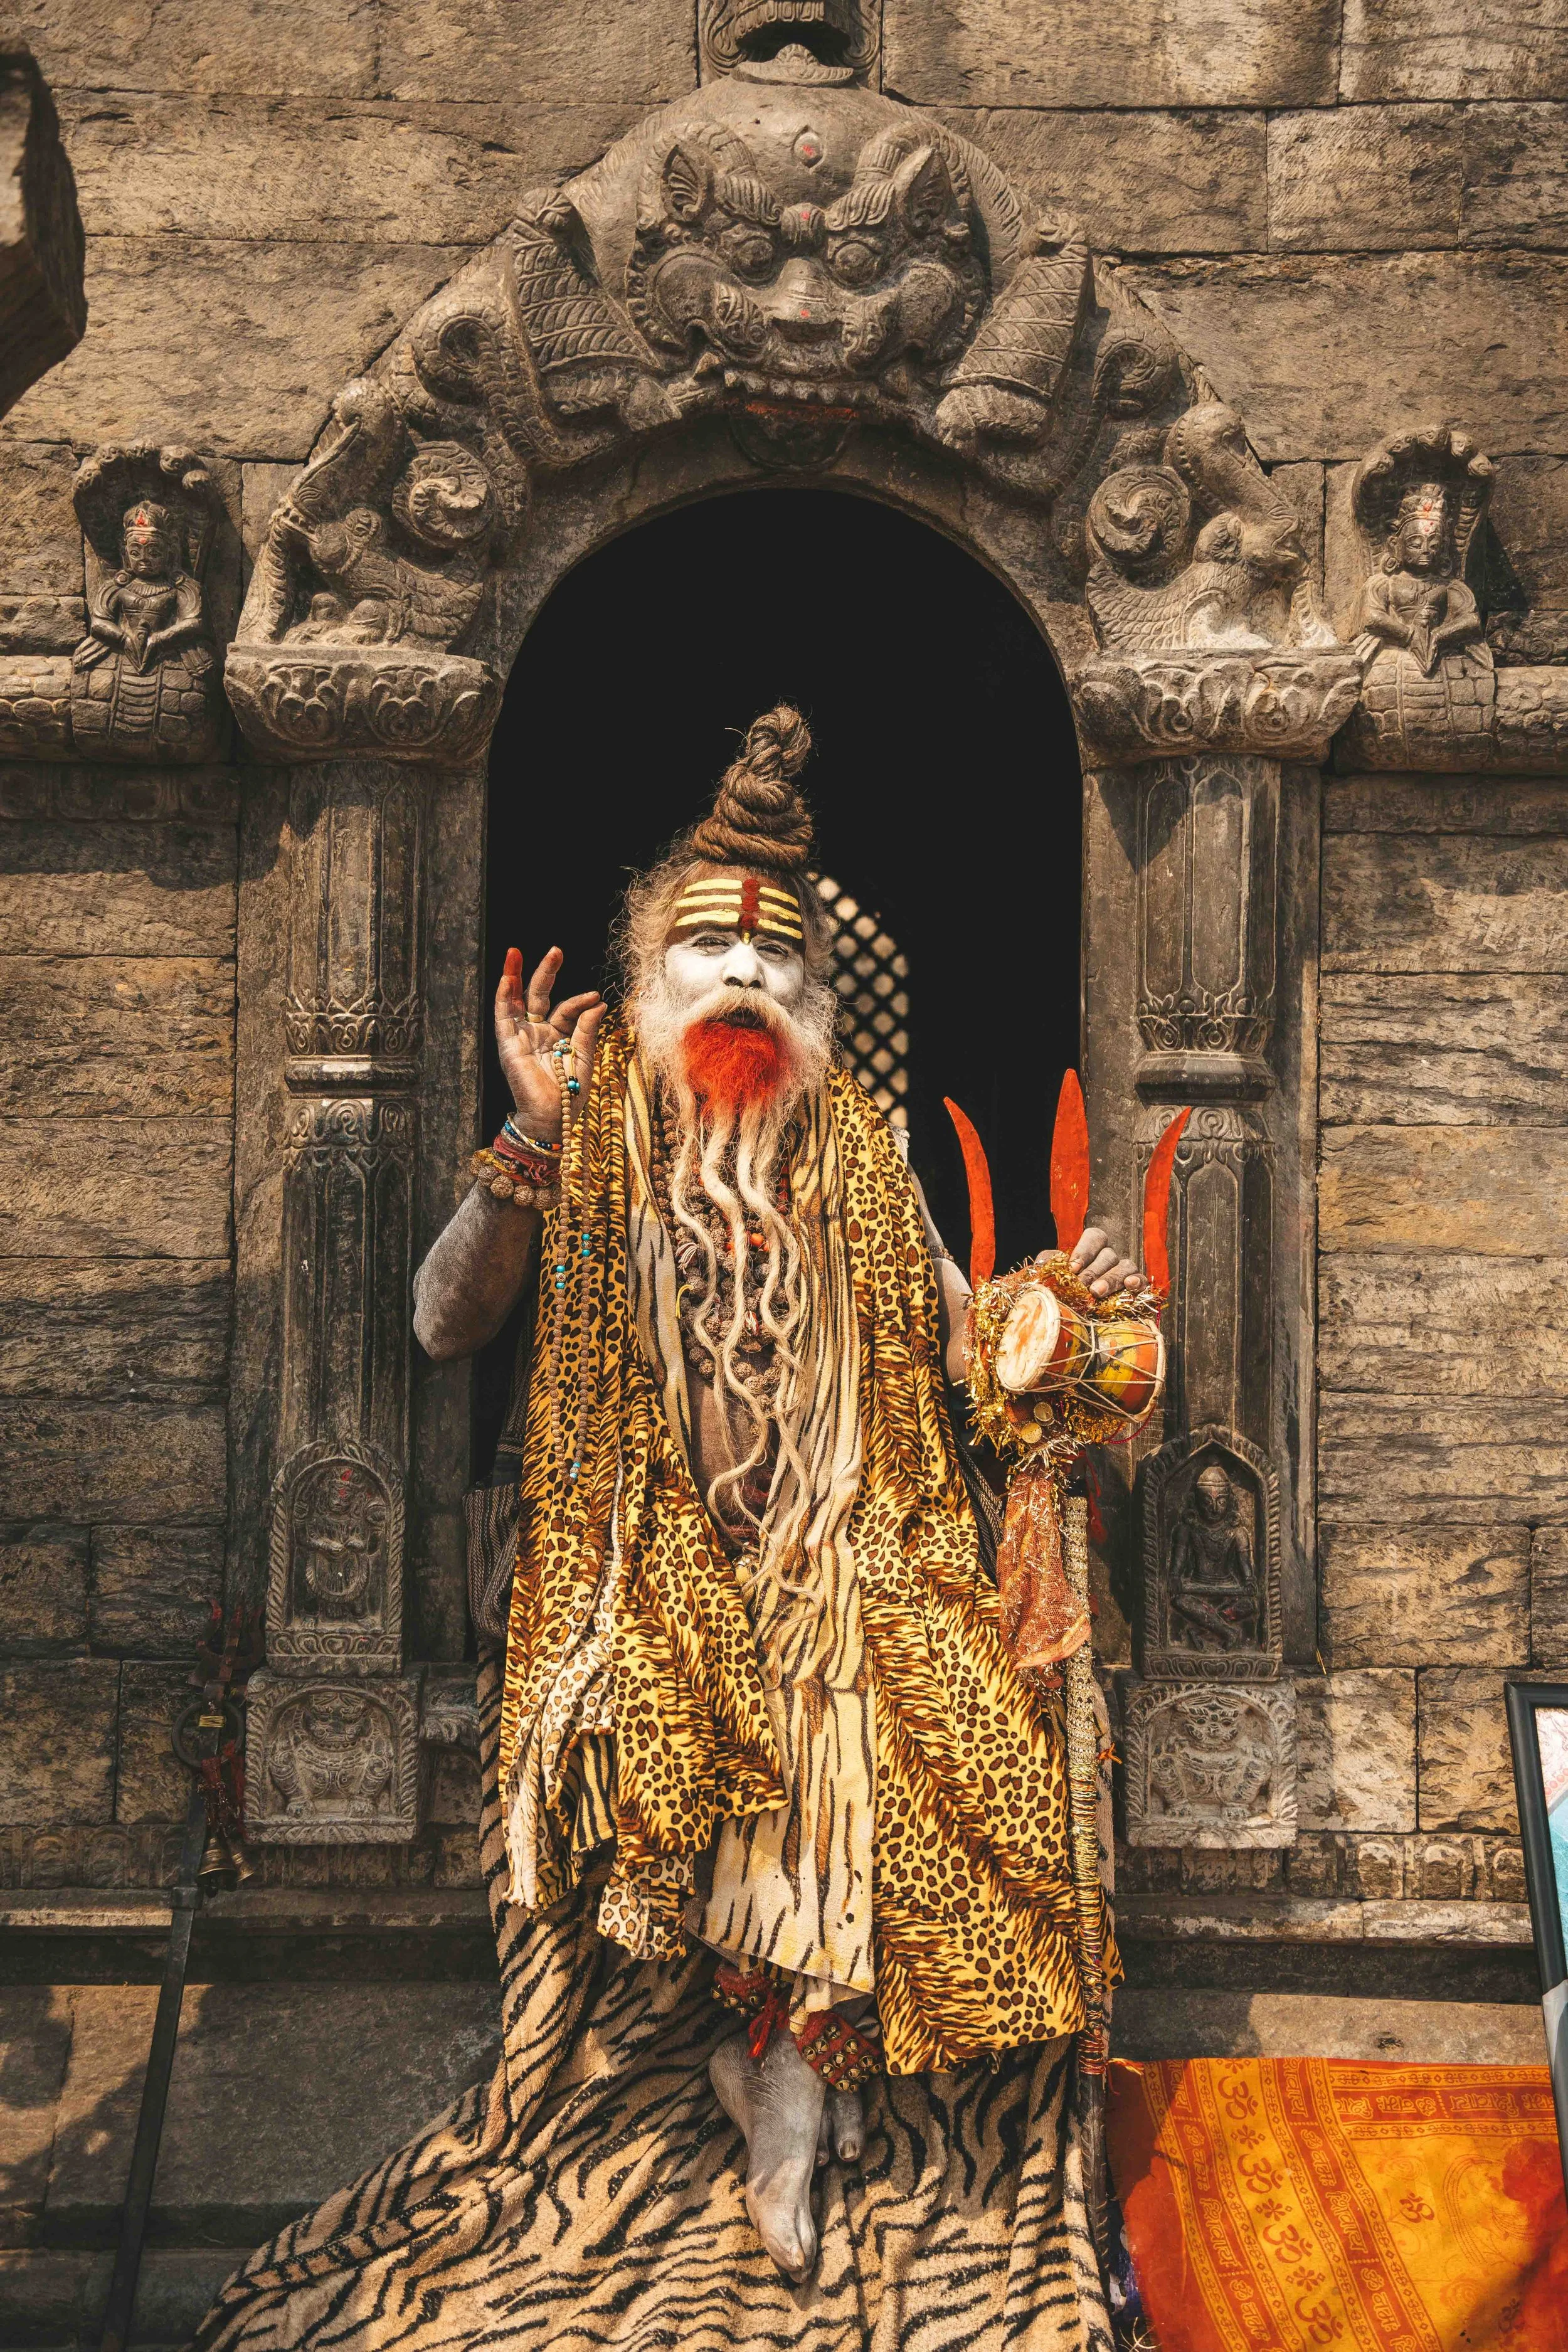
Area 1: Thamel — The Beating Heart of Tourism
Why stay here?
It’s the ultimate hub. Everything a first-timer needs — ATMs, eSIM cards, cheap knock-off North Face gear, and great restaurants — is within a 5-minute walk.
Your expert tip
I suggest staying in North Thamel or Chhetrapati to avoid the thumping bass from the bars if you have a 5 AM flight to Lukla the next day!
luxury / splurge
Hotel Barahi Kathmandu or Dalai-La Boutique Hotel — Stylish, oasis-style comfort right in the mix with a gorgeous courtyard/pool to escape the dust.
Check prices & availability here.
Mid-range / value
Kathmandu Guest House — A legendary, historic property with a massive, peaceful garden. It’s been the meeting ground for climbers and trekkers since the 1960s. I personally stayed at Hotel Jampa and it was the perfect spot for all my needs pre and post-trek.
Check prices & availability here.
Budget / hostel
Flock Hostel Thamel or Thamel Heritage Hostel — Modern, incredibly clean, socially active but quiet enough to sleep. Perfect for solo travelers.
Area 2: Lazimpat – Quiet Comfort & Upscale Sanctuaries
Why stay here?
Just a 15-minute walk or a quick taxi ride north of Thamel, Lazimpat is the embassy district. It is significantly wider, greener, quieter, and less dusty. This is where you stay if you want to ease into Nepal gently after a long haul flight.
Luxury / Splurge
Kathmandu Marriott Hotel or Hotel Shanker – Hotel Shanker is a stunning, authentic 19th-century Rana palace converted into a luxury property with a jaw-dropping pool.
Mid-Range / Value
Nomad Hotel – A beautiful, trendy boutique hotel popular with expats, featuring a fantastic on-site cafe and local artisan decor.
Area 3: Patan (Lalitpur) – The Artistic & Cultural Hub
Why stay here?
Located south of the Bagmati River, Patan is an ancient kingdom in its own right. It’s paved in red brick, filled with artisan bronze workshops, and centered around arguably the most beautiful Durbar Square in the valley. It has a much more authentic, slow-travel feel.
Luxury / Splurge
The Traditional Stay or local boutique heritage properties.
Mid-Range / Unique Experience
For a local experience, check out a Community Homestay in Patan. Community Homestay Network (CHN) is a social enterprise involved in developing and supporting a network of community-based homestays all across Nepal. They connect travelers with Communities across Nepal, providing travelers a unique opportunity to stay with Nepali families and immerse themselves in real Nepali life. At the same time, local communities get the opportunity to share their culture and landscapes with the world while gaining access to a sustainable source of income through tourism.The authentic experiences they offer travelers are created with the goal of having a direct socio and economic impact on local communities, women and families.
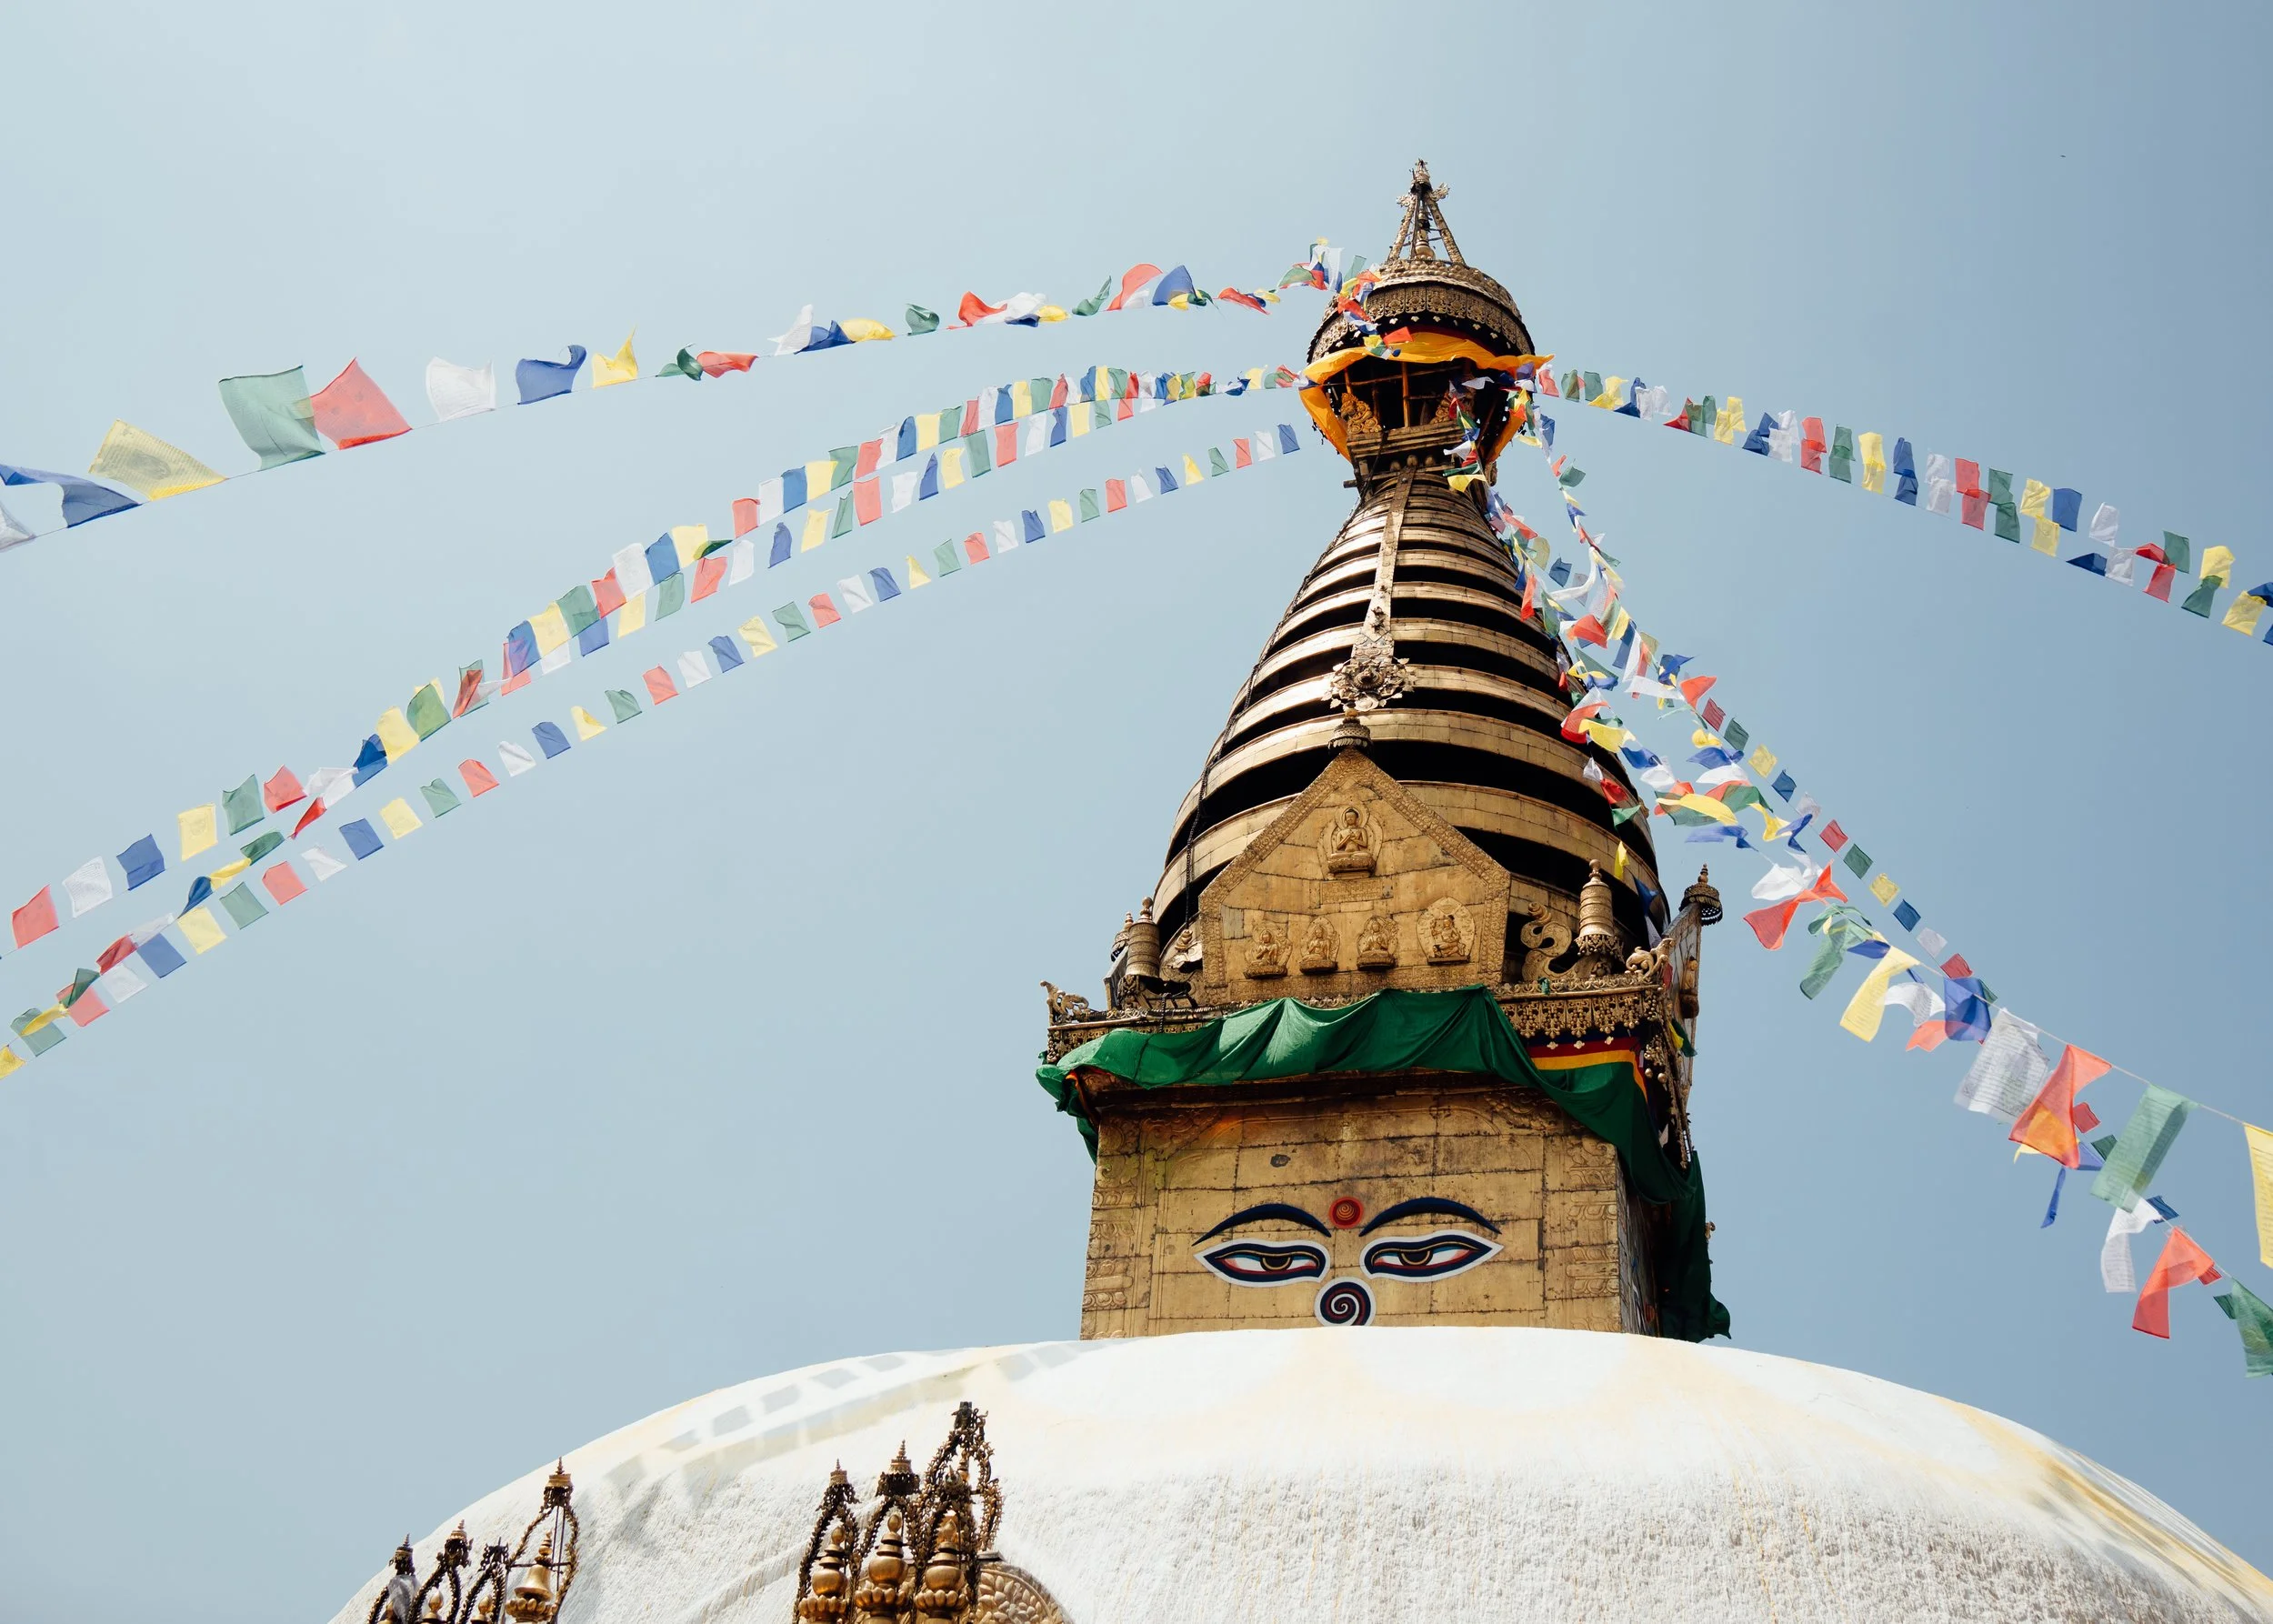
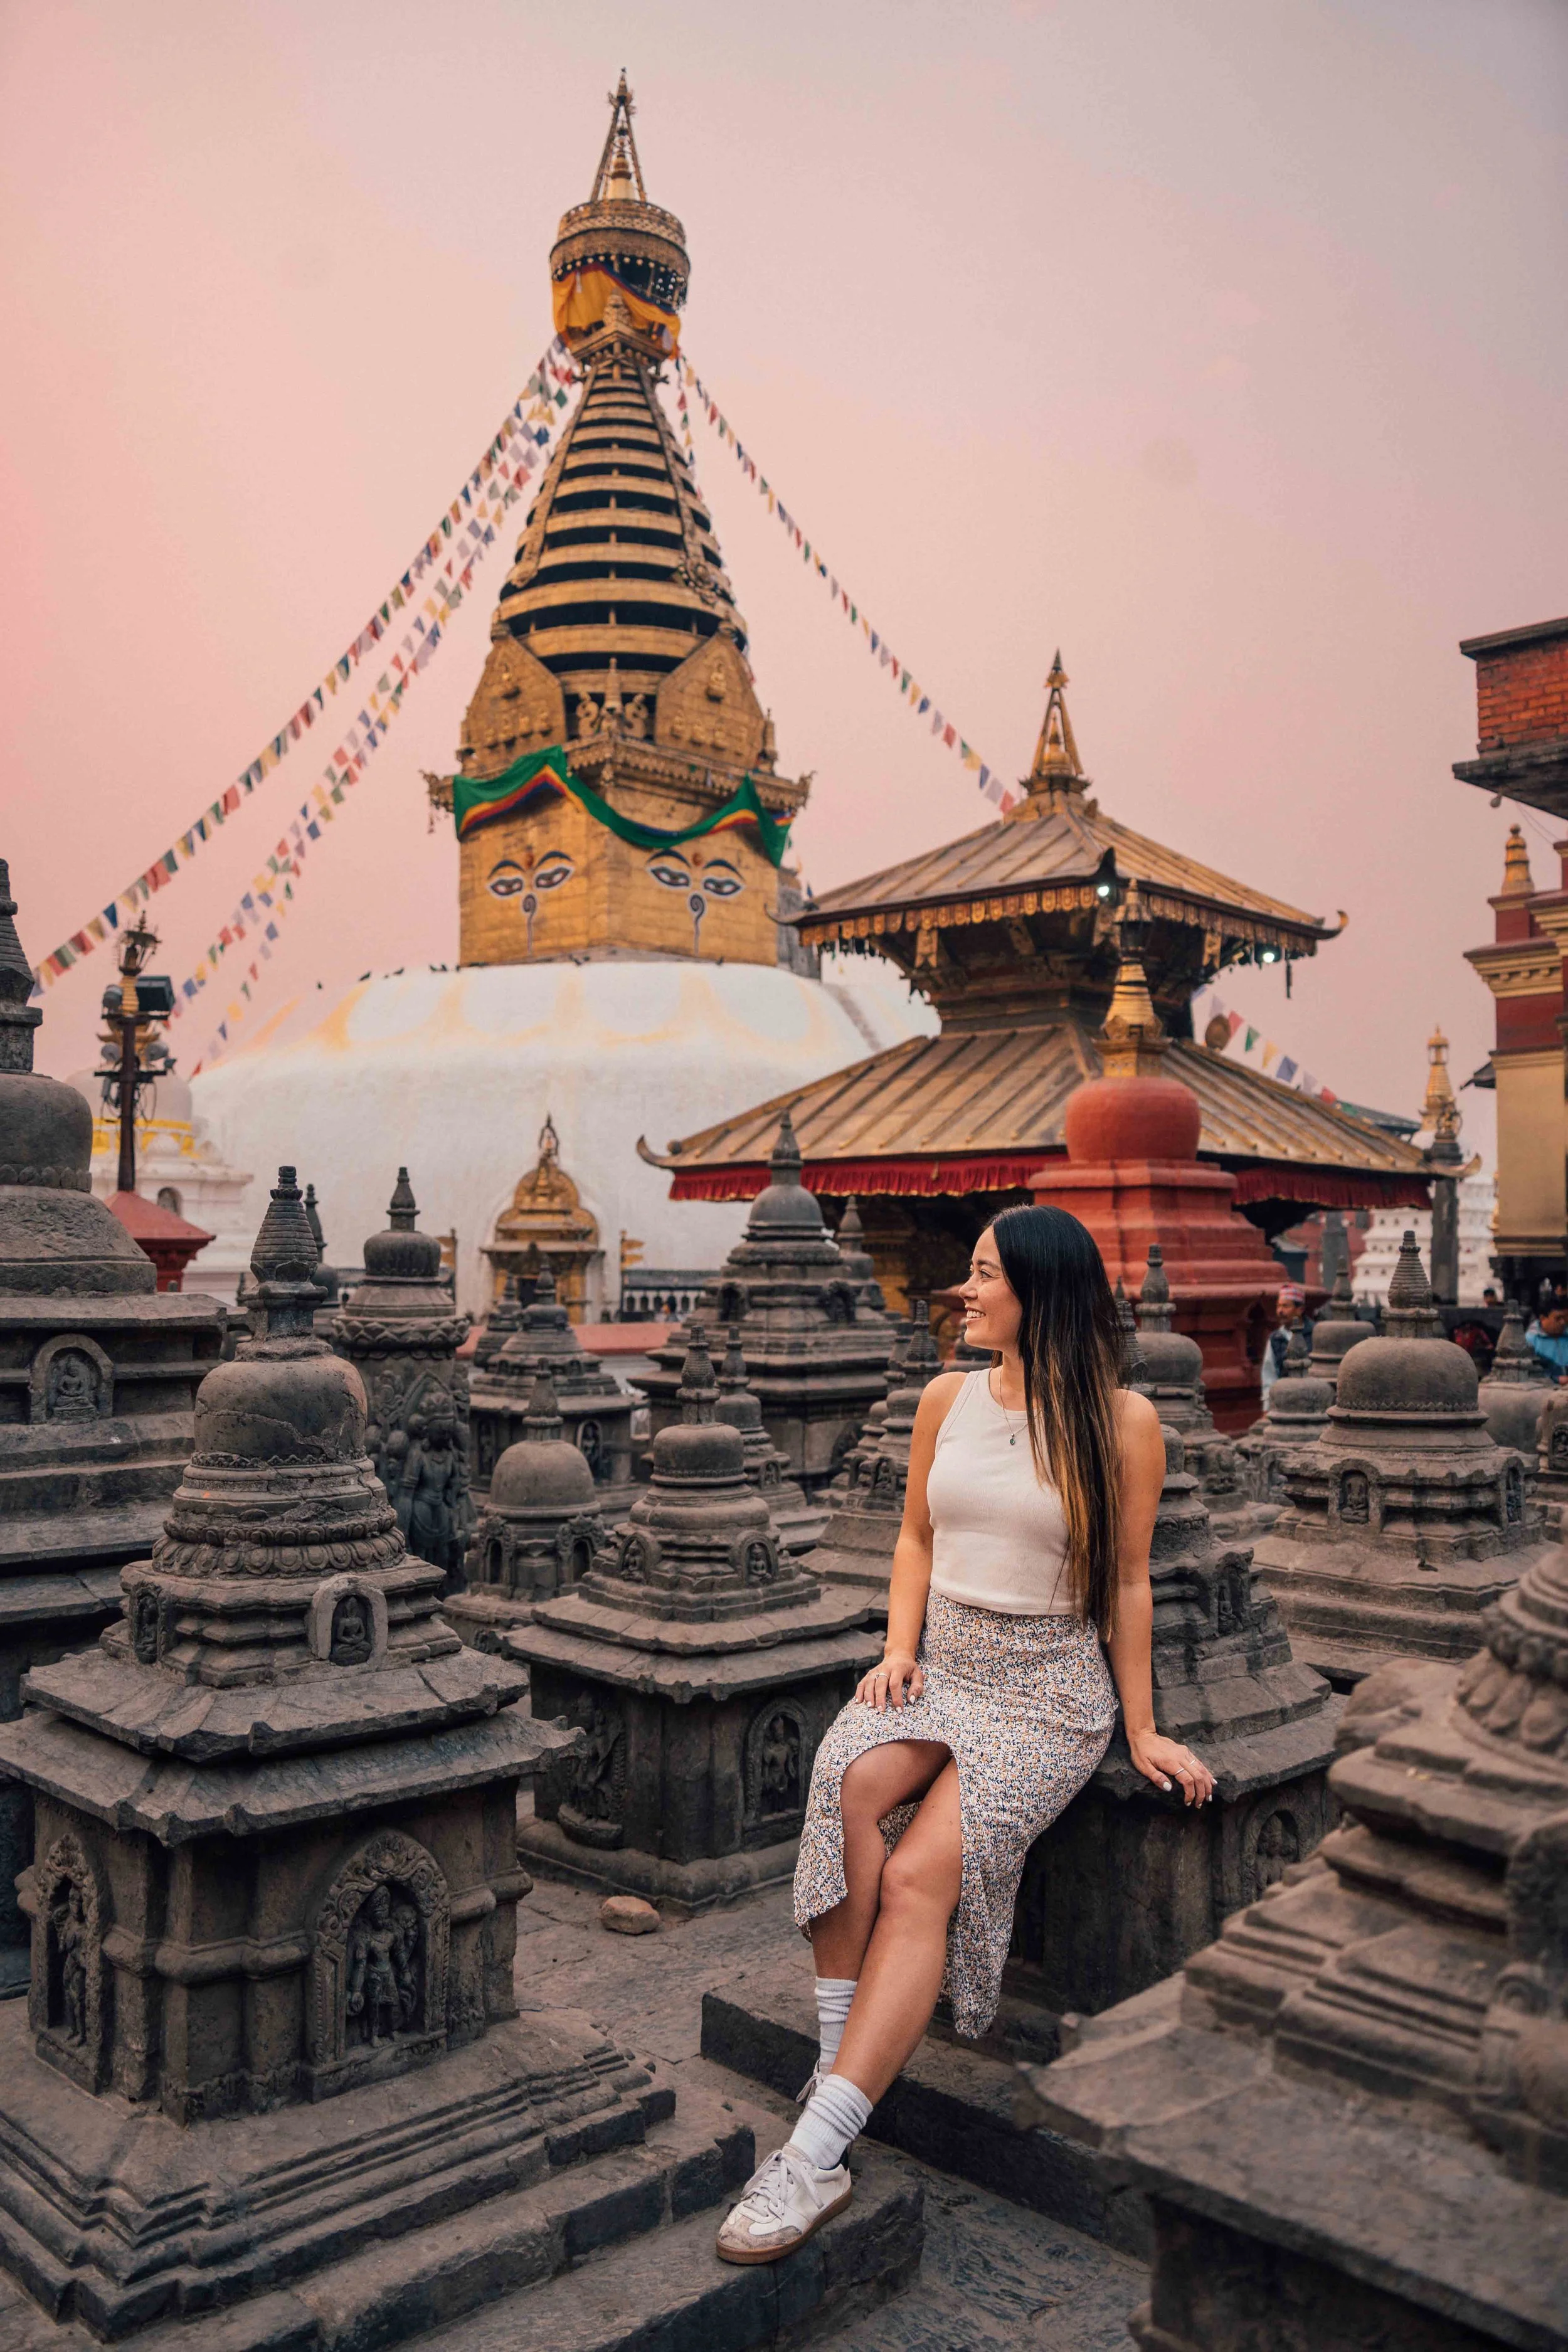
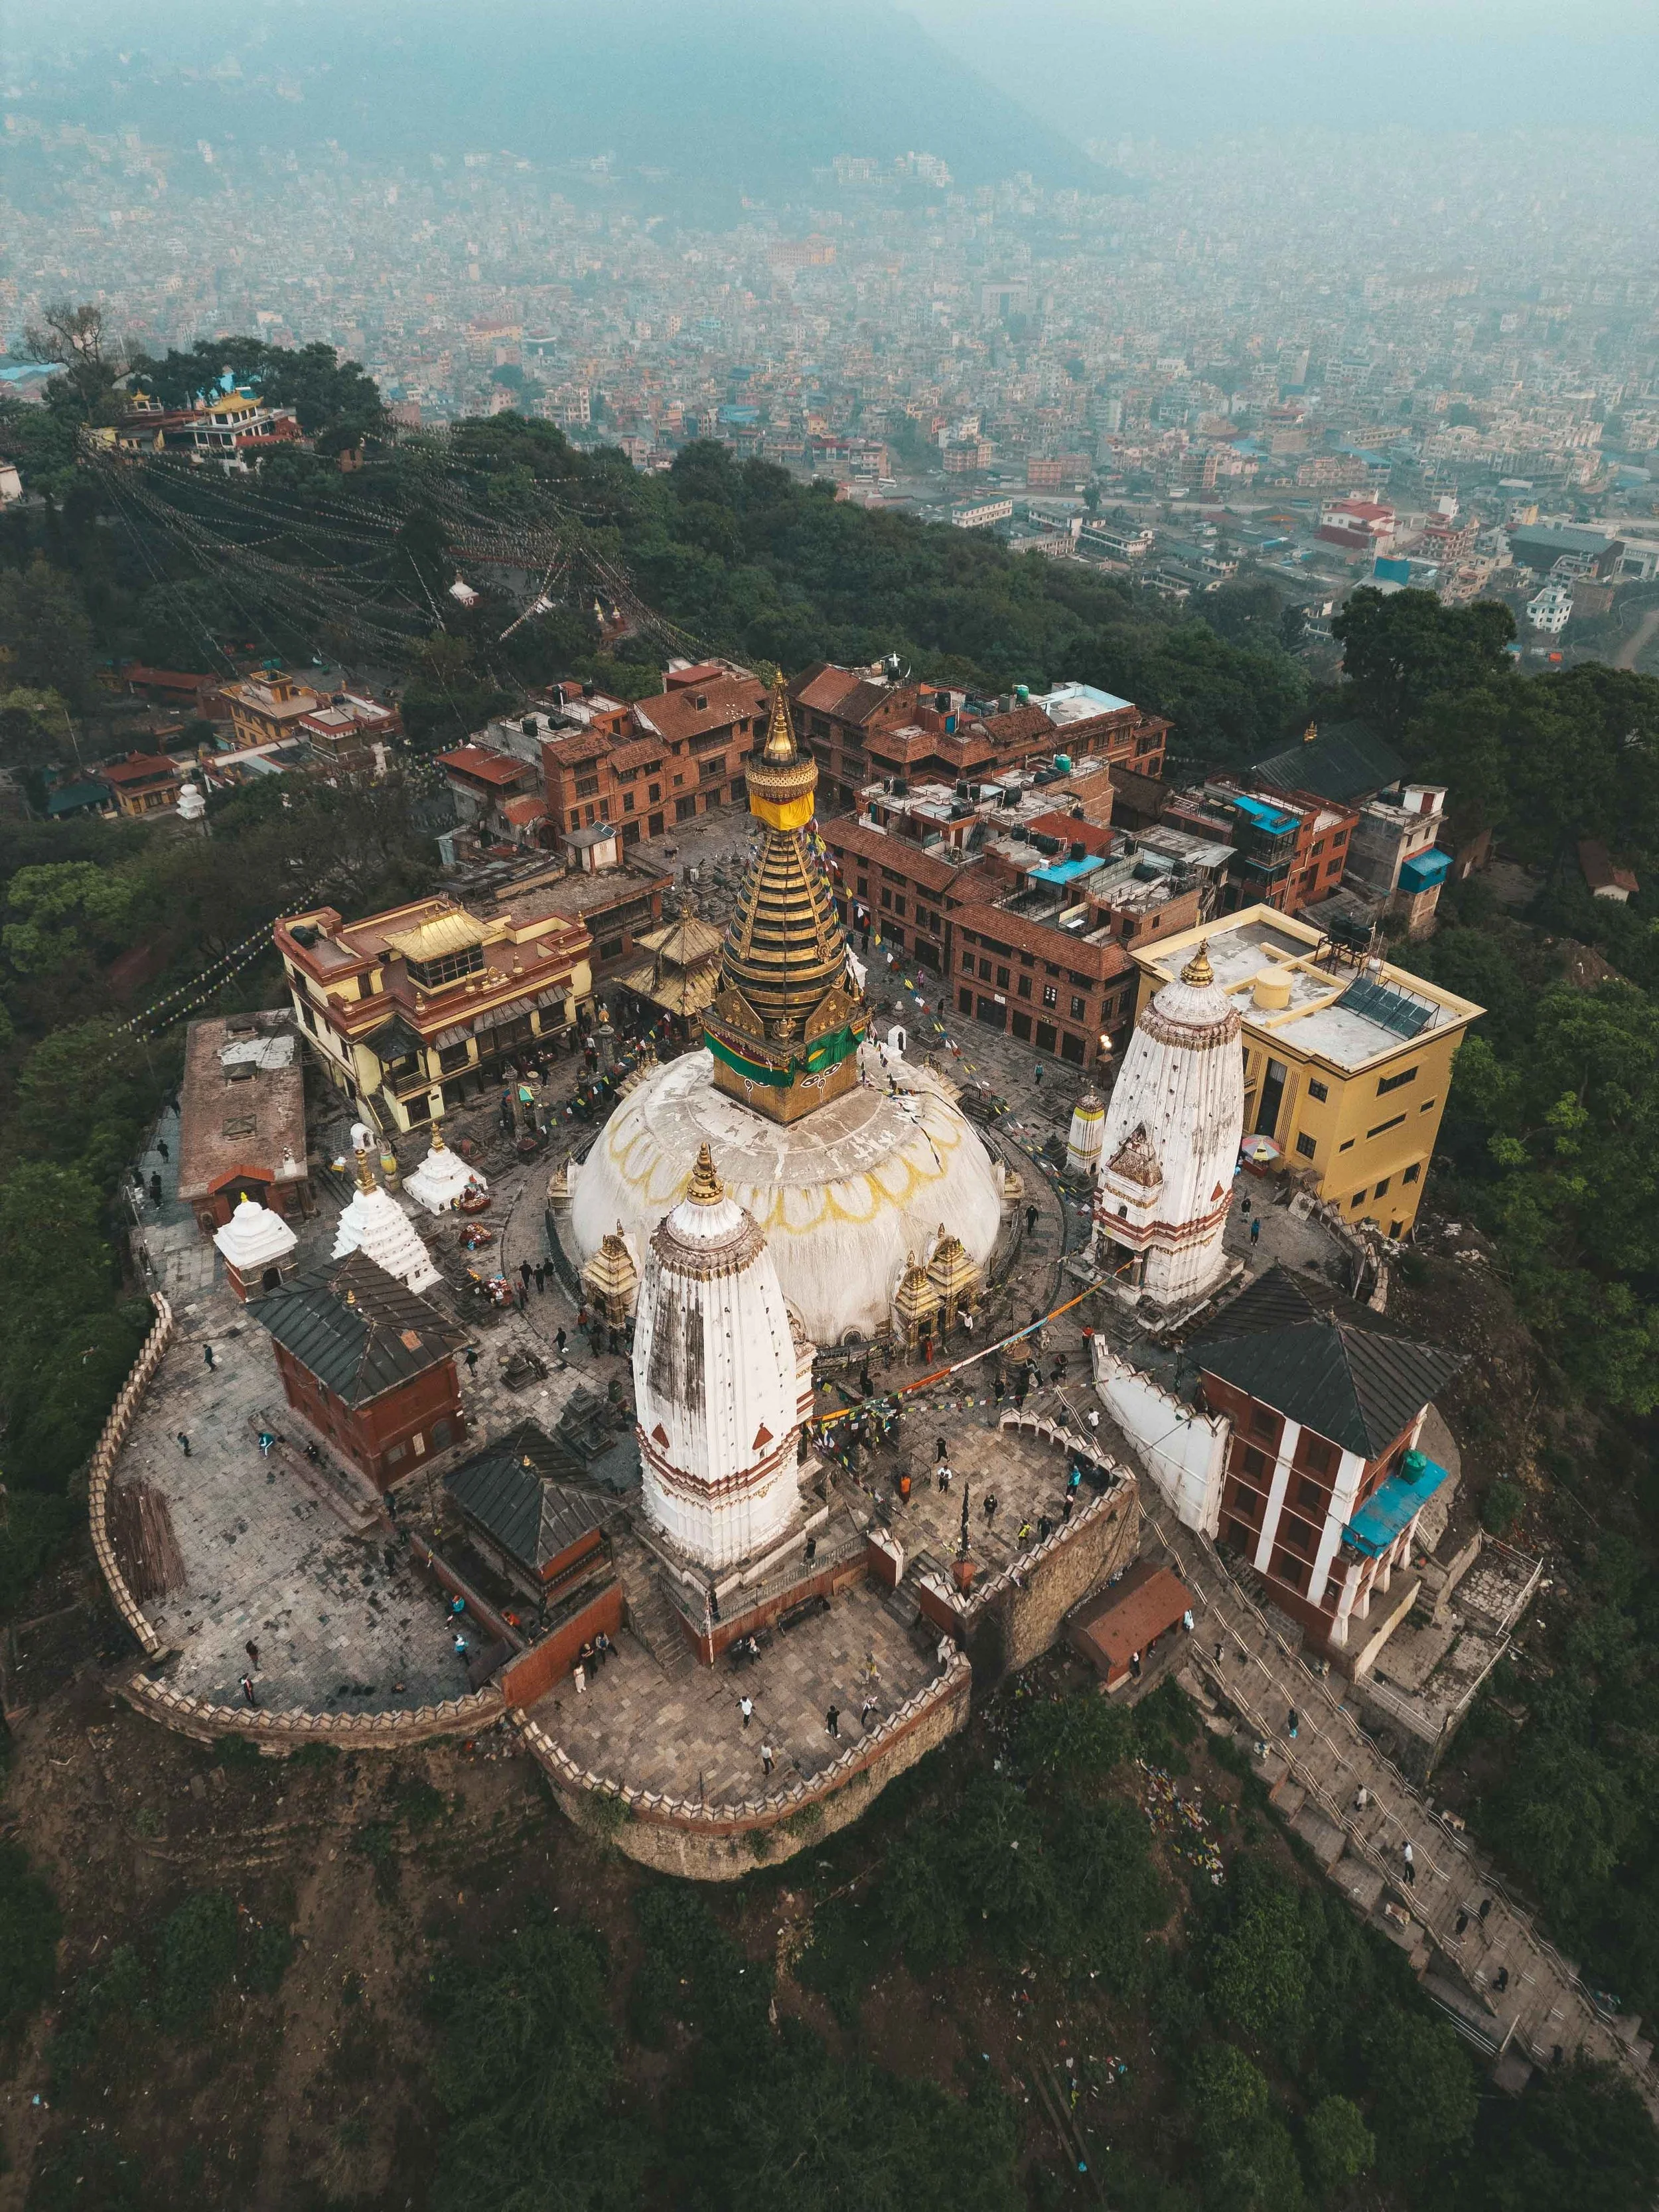
Area 4: Boudha – Spiritual Serenity
Why stay here?
Centered around the massive, iconic Boudhanath Stupa (the white dome with the Buddha eyes). This area is the heart of the Tibetan refugee community. It feels entirely distinct from the rest of Kathmandu—filled with maroon-robed monks, burning incense, and chanting.
Luxury / Splurge
Hyatt Regency Kathmandu – Massive grounds, a luxury pool, and a private back gate that steps right out onto the Stupa walkways. Perfect post-trek indulgence.
Mid-Range & Budget
Shechen Guest House – Attached directly to the Shechen Monastery. It features a stunning vegetarian courtyard cafe and offers a profoundly peaceful stay.
[Check Prices & Availability]

Crucial Logistical Tips for Kathmandu Hotels
Check for Generator Backups
Even though power grids have vastly improved, localized cuts still happen. Ensure your hotel explicitly lists "24/7 power backup and solar hot water"—something standard in tourist hubs but missing in cheap residential rentals.
Airport Proximity Warning
Don't book a hotel just because it says "Near Tribhuvan International Airport." The area right outside the airport is chaotic and lacks tourist infrastructure. Stick to Thamel or Lazimpat; they are only 20–30 minutes away by taxi anyway.