Samoa
Looking for a comprehensive, expert-vetted Samoa travel guide that goes beyond the basic resort recommendations? You’re in the right place. Samoa is an absolute paradise for independent adventurers, country counters, and visual storytellers, but pulling off a seamless trip requires a solid understanding of local infrastructure and cultural etiquette. From exploring the iconic To Sua Ocean Trench to navigating the ferry between the main islands, this ultimate guide covers everything you need to know about Samoa — including transportation logistics, safety tips, accommodation breakdowns, and essential cultural protocols — so you can travel confidently and responsibly.
If you’re here from my post “How to visit every country in the Pacific,” welcome! This is going to be a little more of an in-depth guide on my trip to the country of Samoa.
How to get to Samoa
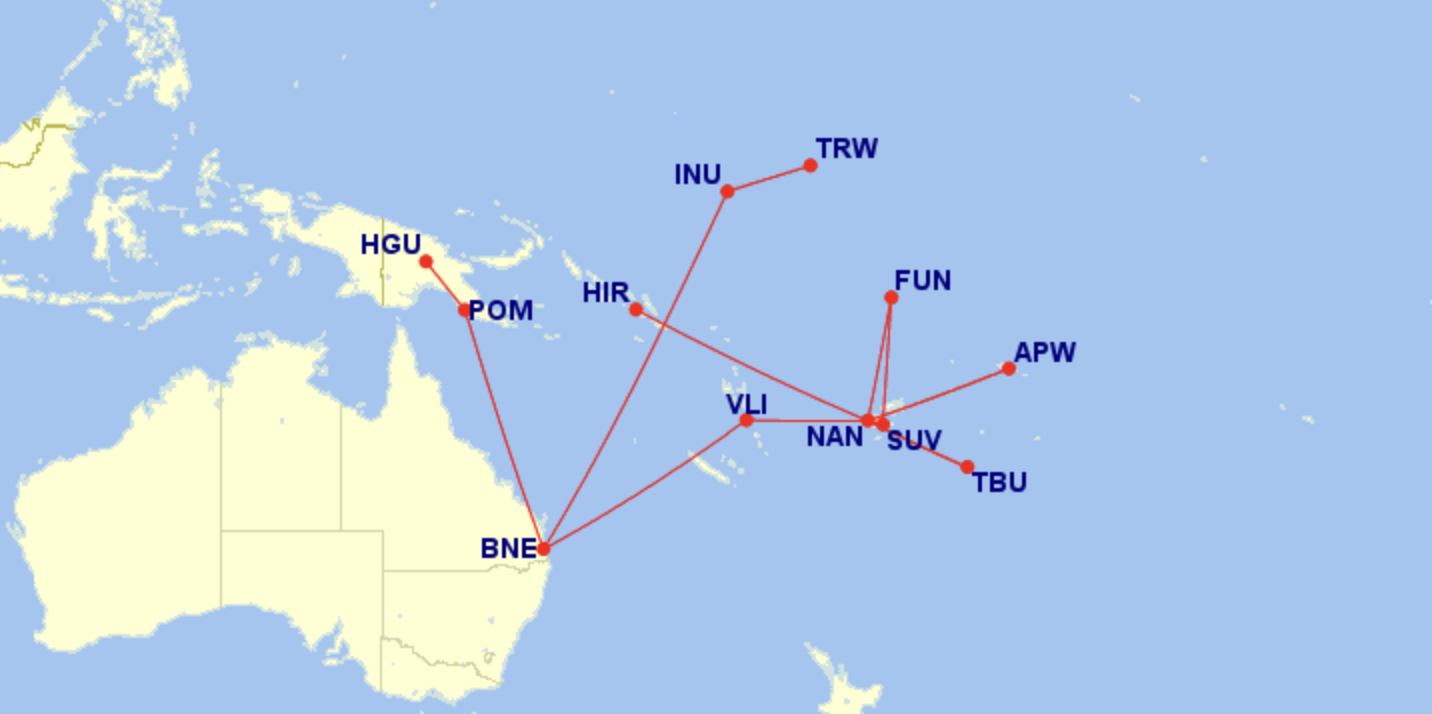
The international airport is in Apia, the capital of Samoa, on the island of Upolu. You can find direct flights from Australia and New Zealand, however, the cheapest way is the fly from Fiji via Fiji Airways. If you’ve been reading my other posts on traveling through the Pacific we flew from Nadi as part of the Fiji Airways loop.
Where to stay in Apia, Samoa
We were trying to find something relatively affordable with a good location in the capital, and we ended up staying at The White House Hotel. From the hotel you can walk around the city, but it was so hot we ended up just taking our rental car everywhere. It was also Sunday when we visited, and EVERYTHING was closed on Sunday, except McDonald’s so we had to drive there for breakfast since it was a bit far from our hotel. The wifi was reliable and AC was perfectly cold so overall was a good stay. Breakfast was not included, like I mentioned.
Perfect for: Independent travelers, budget country counters, and creators who need a clean, safe, and air-conditioned basecamp while exploring Upolu during the day.
Skip if: You are looking for a luxury, all-inclusive resort experience with private beach access and poolside service (for that, you’ll want to head further south down the coast).
SEARCH | Alternatively, check out Booking.com for more options in the area.
Staying connected in Tonga
My friends and I all used the Airalo Oceania Esim for this trip, which covers eight countries in Oceania and specifically seven of the countries on this trip through the South Pacific. It’s cheaper than buying individual esims or physical sim cards for each country so it’s a great deal and you can top-up if you run low on data. I personally love using esims since you’re instantly connected when you land to look up directions, currency rates, or language translations. Yes, Samoa is covered on the Airalo Oceania Esim, but if you’d rather purchase a Samoa esim separately you can check it out here.
SEARCH | Alternatively, check out Airalo.com for more esim options.
How to get around Apia, Samoa
Unfortunately public transportation isn’t great in Samoa and you really need a rental car to get around. We couldn’t find anything online to reserve in advance but there are a lot of people waiting in front of the airport arrivals that will take you to the rental. We ended up going with Sak’s Rental, and you can email them at: saksrental.samoa@gmail.com . If you’d rather not drive yourself there are some tours that can take you around to all the sights of the island.
SEARCH | Alternatively, check out Viator.com for more Samoa tour options.
Best Itinerary from Apia
We had one full day in Samoa to drive around and see all the sights so this everything we did that fully encompassed our time! Another note, even though I mentioned it before, the full day was on Sunday and EVERYTHING is closed. If you only have one day and can avoid that I would recommend it, but we made do!
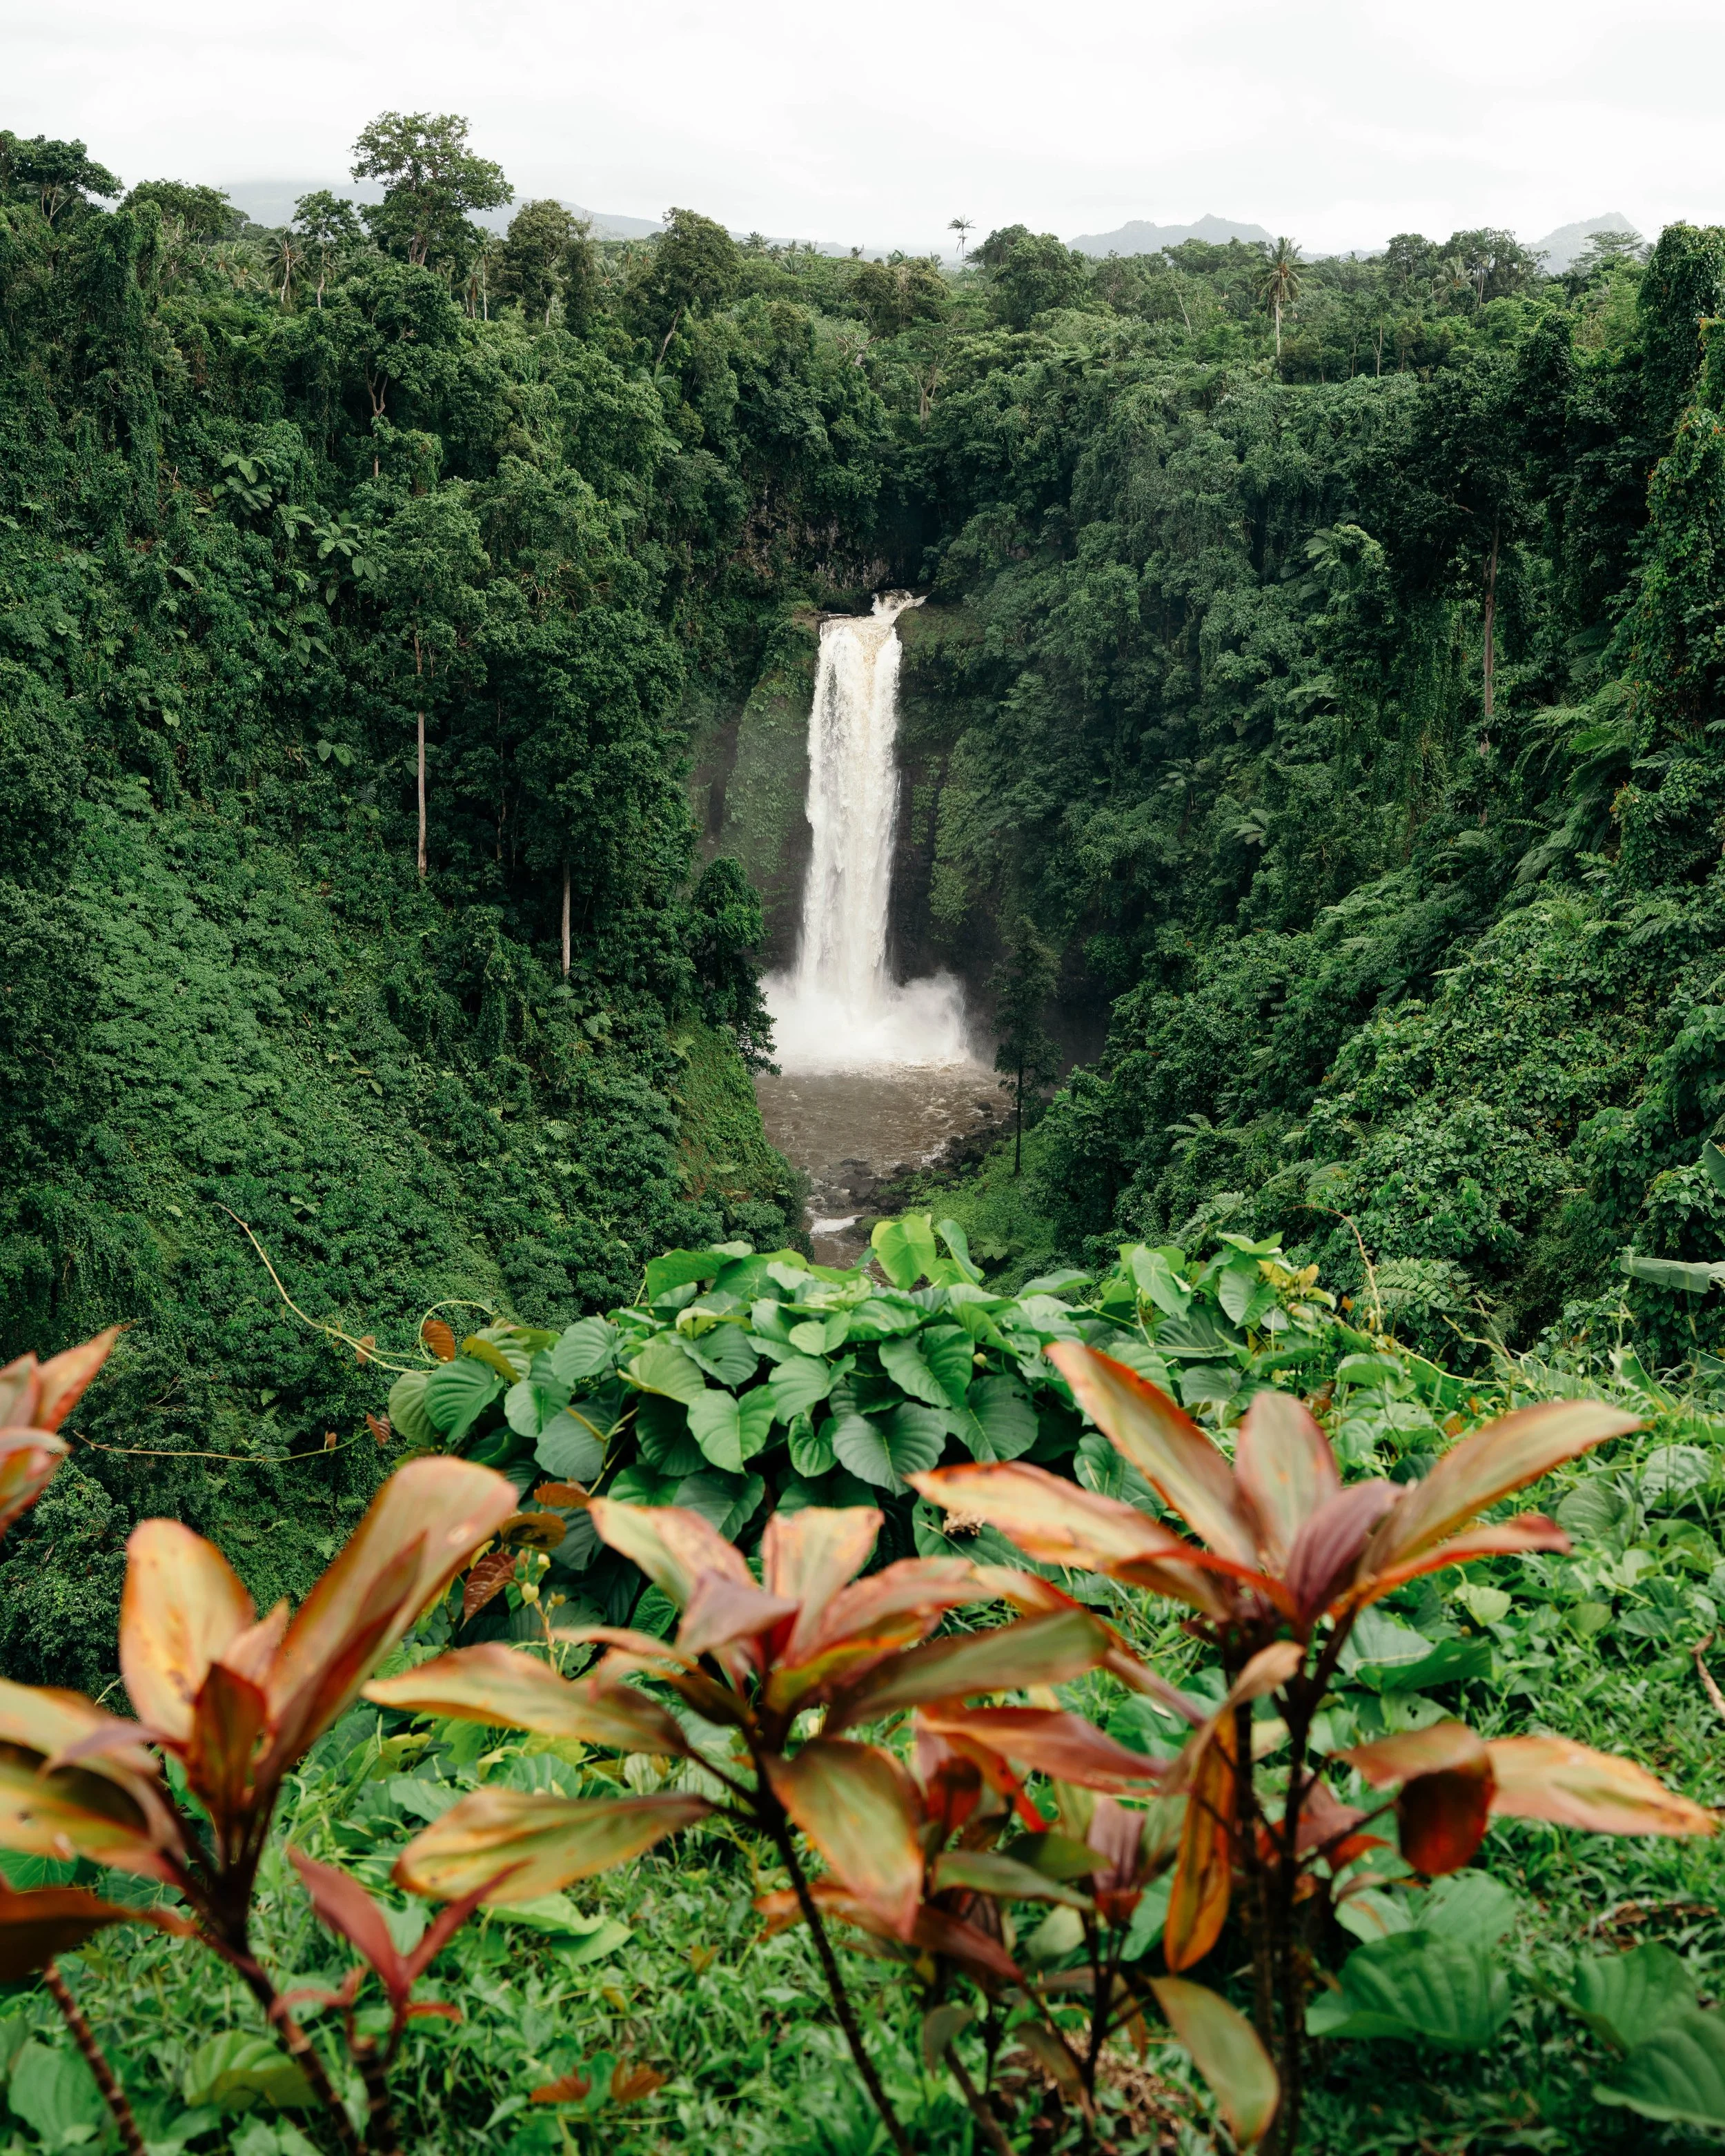
Papapapaitai Falls
Our day pretty much revolved around getting to To Sua Ocean Trench when it opened, but on Sundays it doesn’t open til noon. We had a relaxing morning getting breakfast at McDonald’s (it was the only thing open sadly) and then we started driving towards the Papapapaitai Falls. I wouldn’t go out of my way to come here but it’s along the route to To Sua Ocean Trench and we had time to kill.
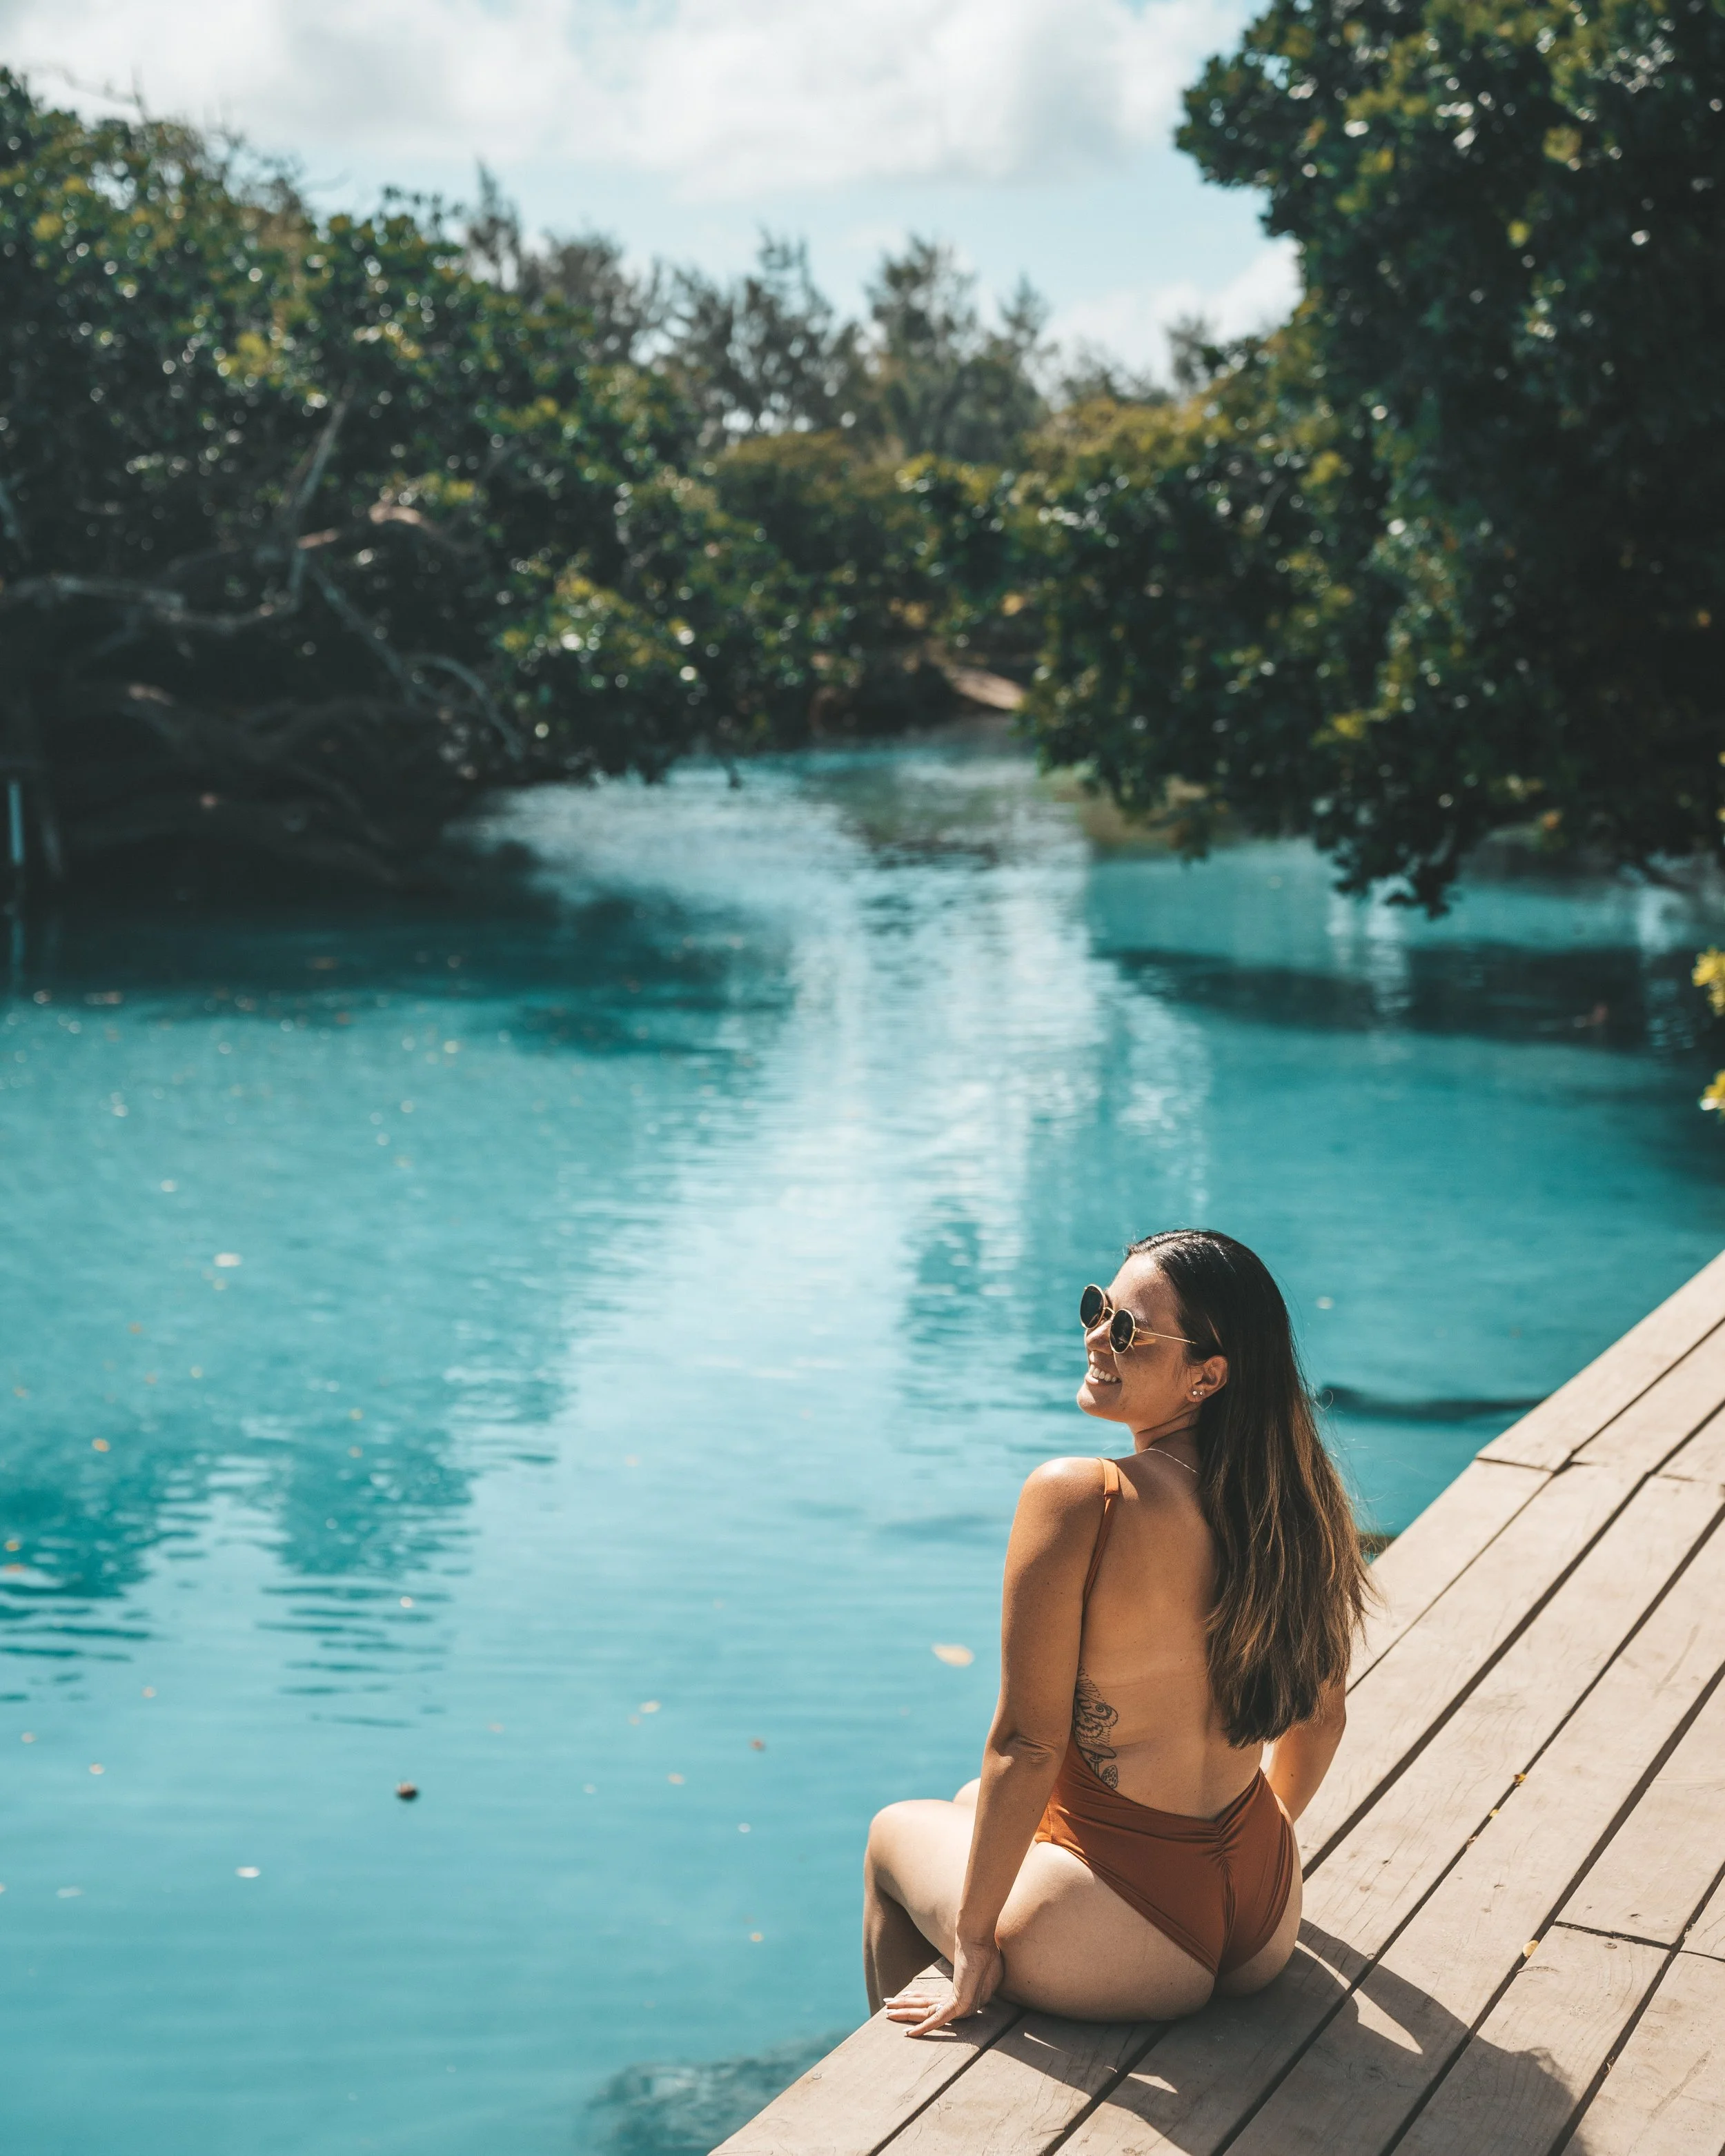
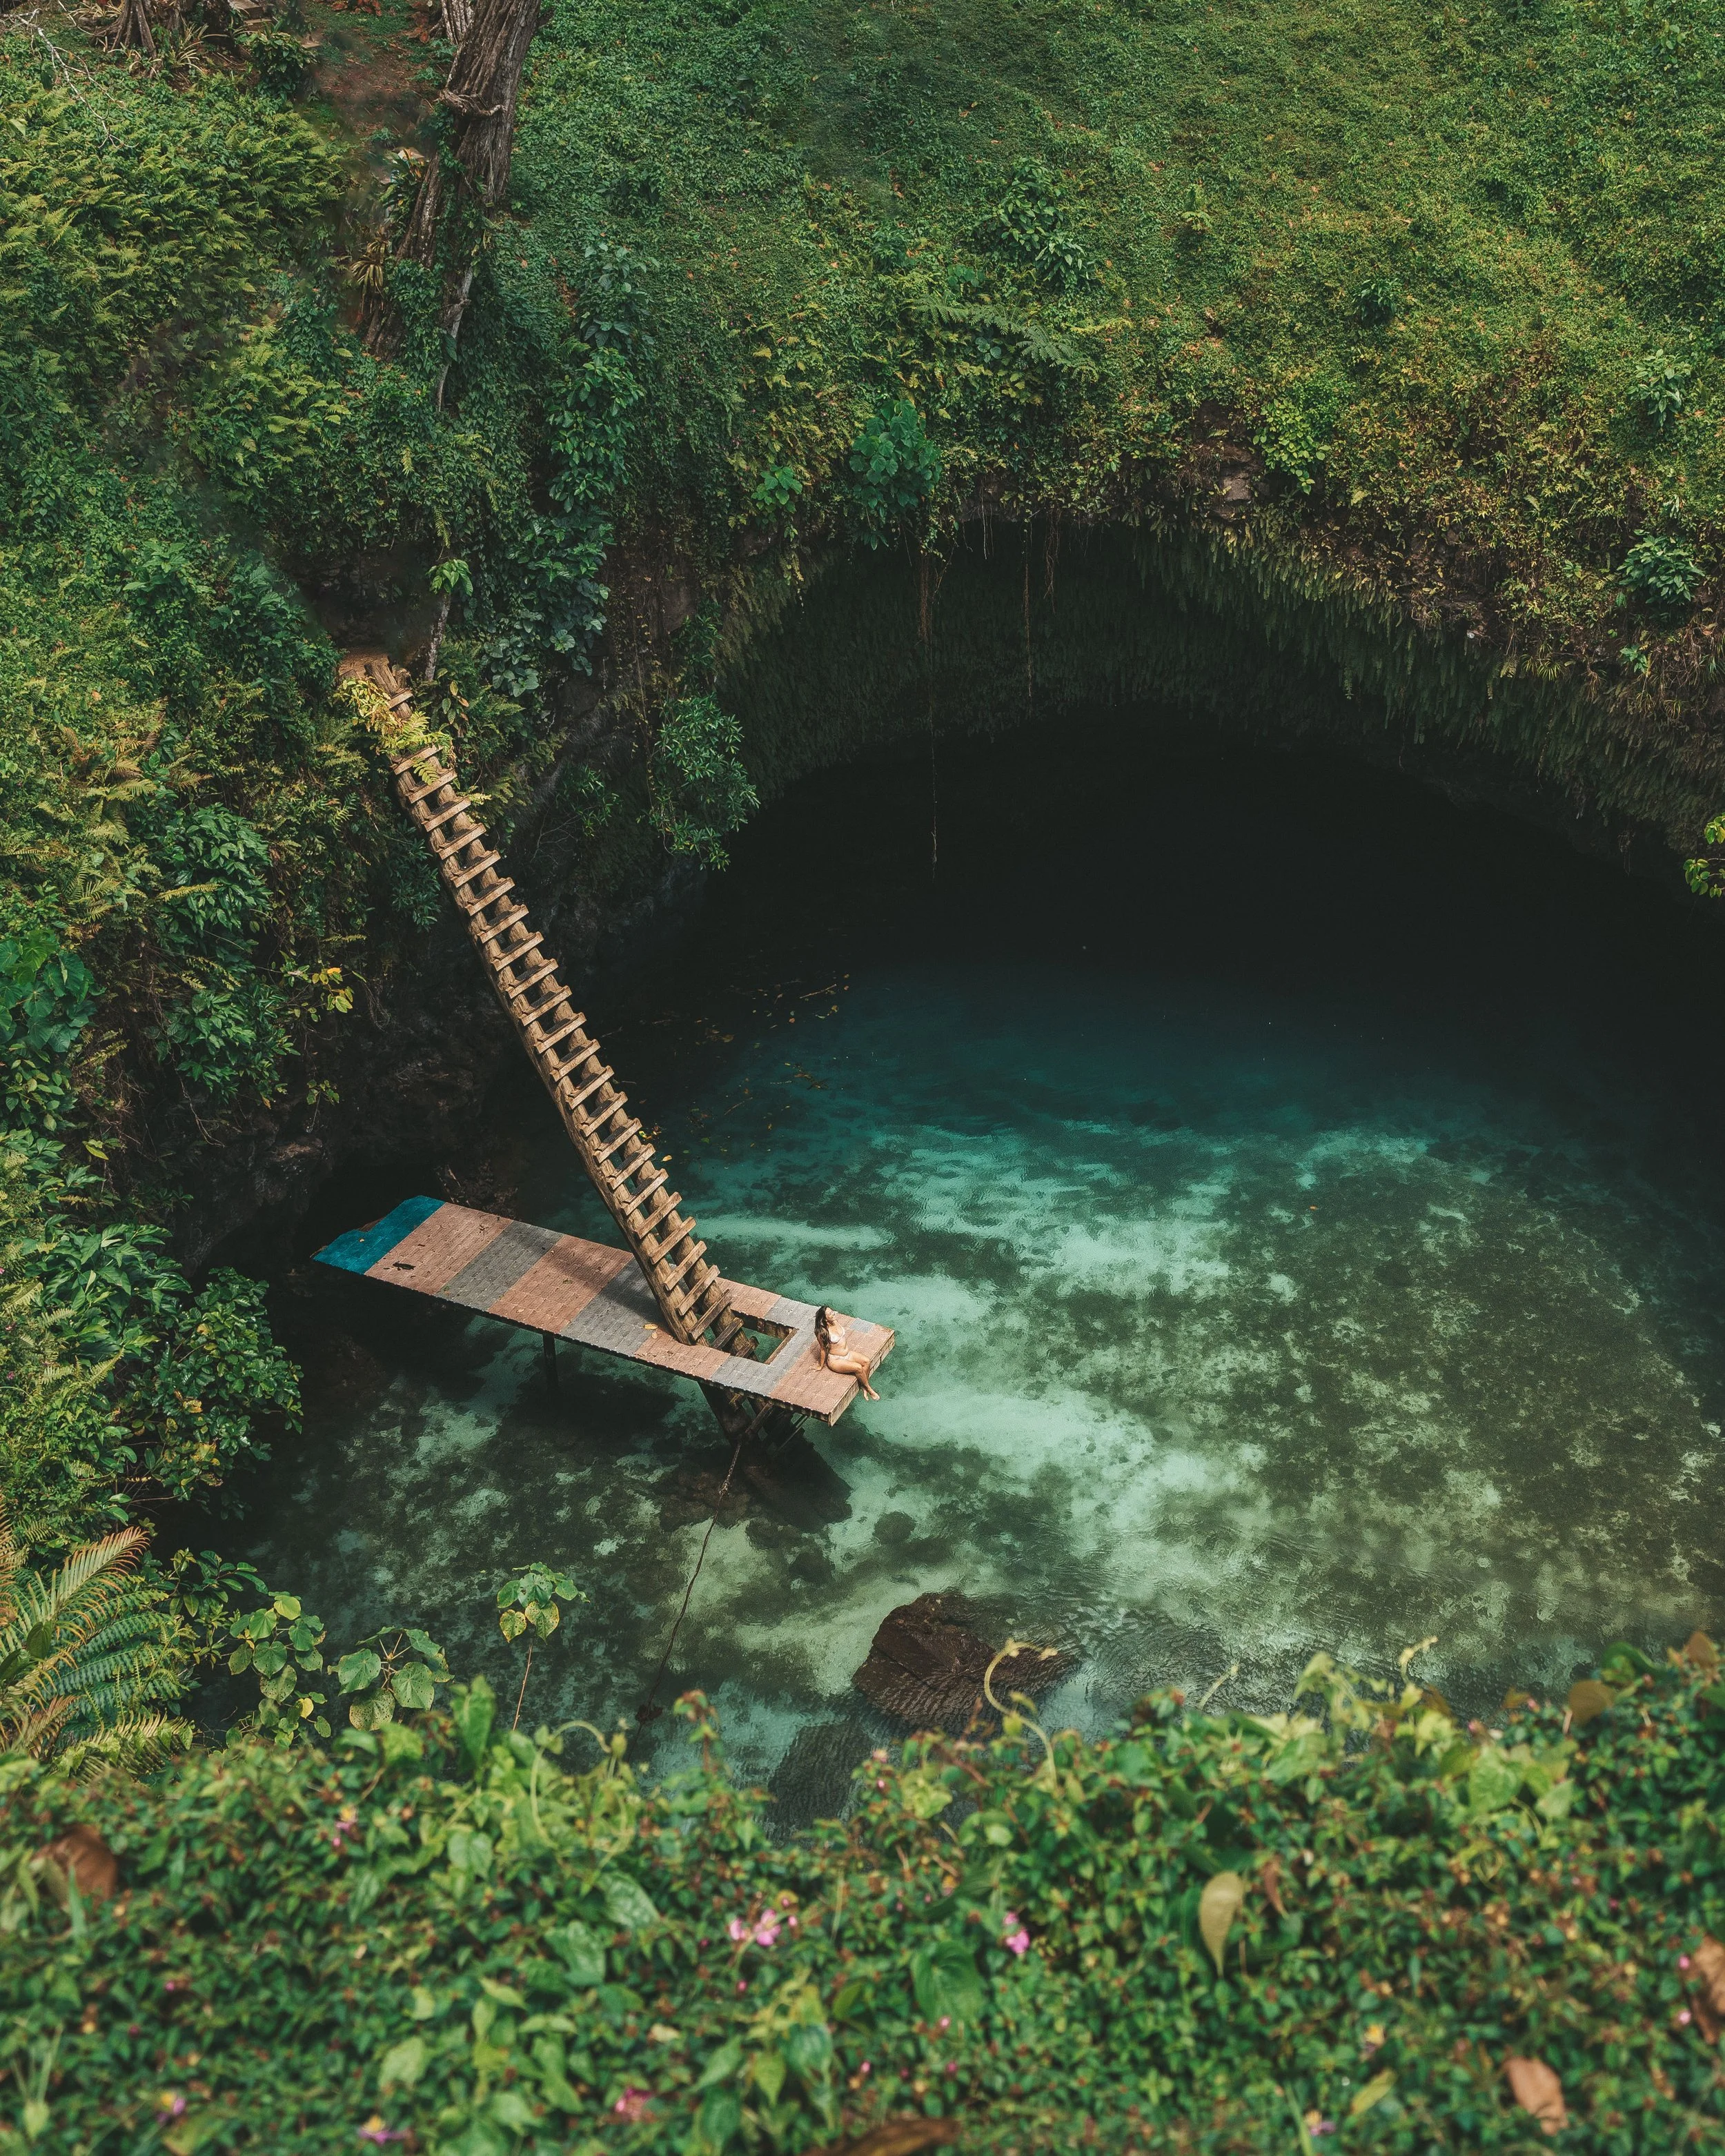
To Sua Ocean Trench
Everyday except Sunday it opens at 8 AM, but on Sundays it opens at 12:30. It was really hot by the time it opened past noon, but the lighting was decent to take photos of the bright blue waters. I didn’t really know what to expect but there’s a large parking lot, a convenience store where you pay the entry fee, changing rooms, then you have to walk a bit to the trench. There are beautiful fales around where you can hang out with a view of the ocean behind.
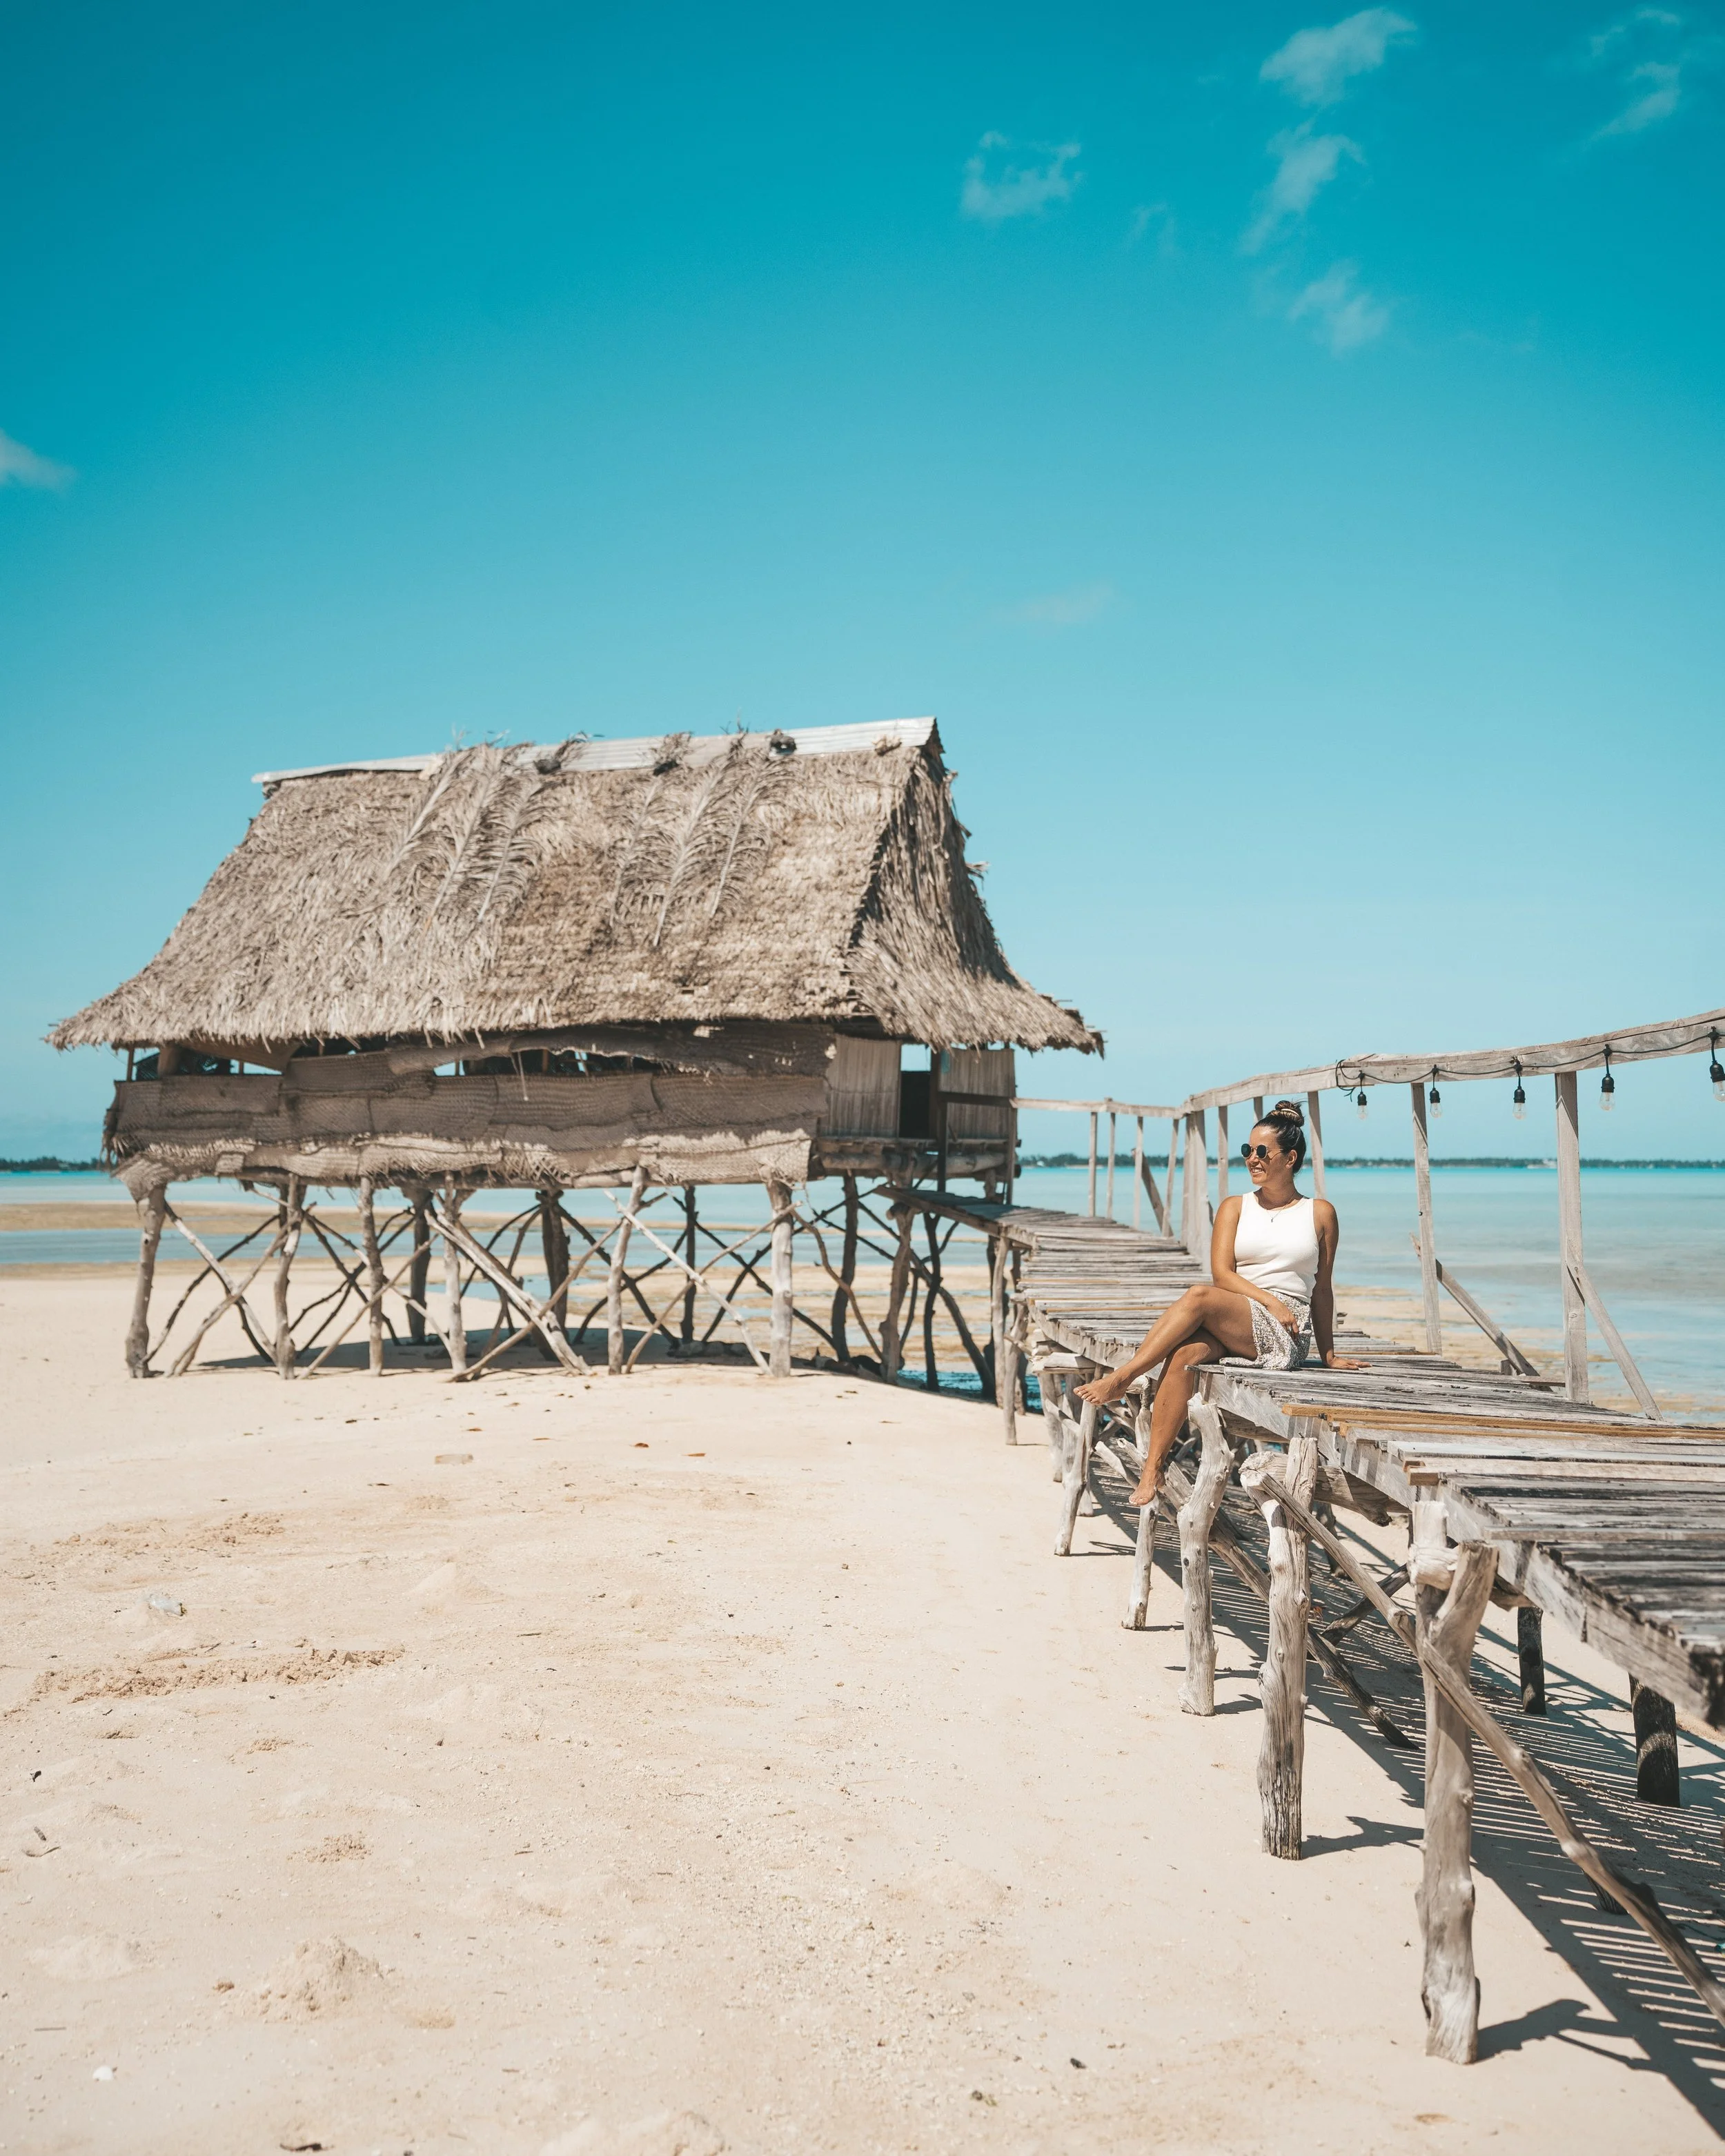
Lalomanu beach
This area is the best for beaches on the island so we headed there after and hung out at Taufua Beach Cottages. We had an amazing traditional Samoan seafood buffet meal for lunch and then hung out on the fales on the beach. It was the perfect place to relax in the afternoon and jump in the ocean. This hotel for €50 is nearby if you have more time and want to book something in advance. I would have loved to stay the. night in a traditional fale on the beach, but maybe next time!
SEARCH | Alternatively, check out Booking.com for more options in the area.
Fuipisia Waterfall
On the way back to Apia we decided to take a different route back that was about the same length of time to stop at a different waterfall: Fuipisia Waterfall. The other waterfall was a little built-up but this one had nothing around; it was just a stop on the side of the road. Again, I wouldn’t recommend going out of the way for this, but if it’s on your route then you can check it out.
Samoa Budget
FLIGHTS: $432 USD
The whole Fiji Airways loop (Vanuatu - Tonga - Samoa - Tuvalu - Fiji - Solomon Islands) cost $2072 USD, but to just break it down, from Tonga to Samoa cost about $216 USD and the flight from Samoa to Tuvalu cost about $216 USD.
HOTEL: $67 USD
Our guesthouse cost $268 USD for two nights, but we split it four ways so it was $67 per person, or $33.50 per person per night.
RENTAL CAR: $96.25 USD (Total was $385 USD, split 4 ways)
FOOD & DRINKS: $73 USD
TOTAL SPENT FOR SAMOA: $668 USD